Google Apps Script is an incredible tool that allows you to extend the functionality of Google Sheets. By using Apps Script, you can create custom menus, automate tasks, and integrate with other Google services. In this blog post, we’ll explore how to add a custom menu to Google Sheets that triggers a popup alert, handle user responses, and manage potential errors gracefully.
Adding a Custom Menu
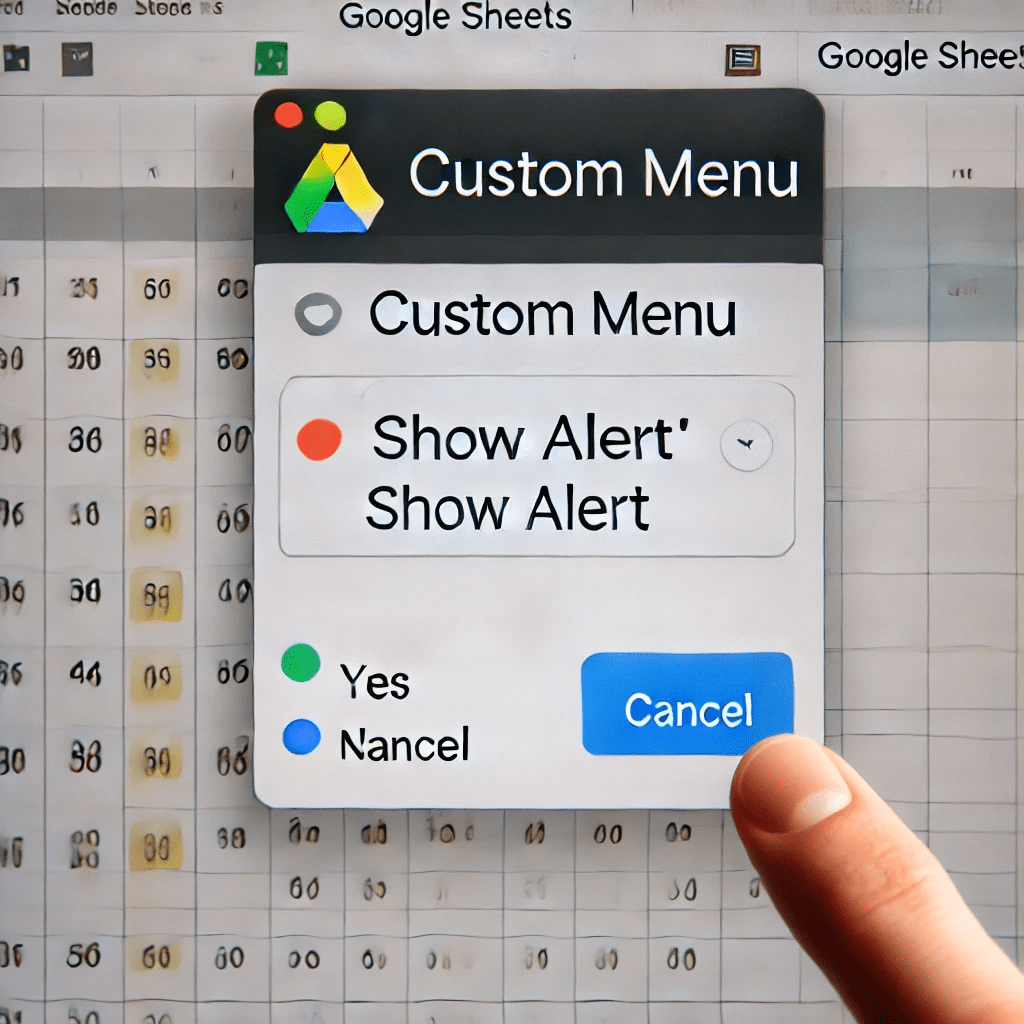
The first step is to create a custom menu in Google Sheets. This menu will contain an item that, when clicked, will display a popup alert. To achieve this, we use the onOpen function, which runs automatically when the Google Sheets document is opened.
The Code
Here’s the complete code to add a custom menu and display a popup alert:
function onOpen() {
  const ui = SpreadsheetApp.getUi();
  ui.createMenu('Custom Menu')
    .addItem('Show Alert', 'showAlert')
    .addToUi();
}

function showAlert() {
  try {
    const ui = SpreadsheetApp.getUi();
    const res = ui.alert("Show Stuff", ui.ButtonSet.YES_NO_CANCEL);
    Logger.log(res);

    let message = '';

    if (res == ui.Button.YES) {
      message = "was Yes!";
    }
    else if (res == ui.Button.NO) {
      message = "was No!";
    }
    else if (res == ui.Button.CANCEL) {
      message = "was Cancelled!";
    }
    else if (res === null) {
      message = "was dismissed!";
    }
    else {
      message = 'was something else';
    }
    ui.alert(message);
  } catch (error) {
    Logger.log('Error: ' + error.message);
    SpreadsheetApp.getUi().alert('An unexpected error occurred: ' + error.message);
  }
}
Explanation of the Code
1. onOpen Function
The onOpen function runs automatically when the Google Sheets document is opened. It creates a custom menu in the UI.
function onOpen() {
  const ui = SpreadsheetApp.getUi();
  ui.createMenu('Custom Menu')
    .addItem('Show Alert', 'showAlert')
    .addToUi();
}
- Getting the UI Object:
const ui = SpreadsheetApp.getUi();retrieves the user interface for the current Google Sheets document. - Creating the Menu:
ui.createMenu('Custom Menu')creates a new menu named “Custom Menu”. - Adding a Menu Item:
.addItem('Show Alert', 'showAlert')adds a new item labeled “Show Alert” to the custom menu. When clicked, this item will call theshowAlertfunction. - Adding the Menu to the UI:
.addToUi();adds the custom menu to the Google Sheets UI.
2. showAlert Function
The showAlert function displays a popup alert and handles the user’s response.
function showAlert() {
  try {
    const ui = SpreadsheetApp.getUi();
    const res = ui.alert("Show Stuff", ui.ButtonSet.YES_NO_CANCEL);
    Logger.log(res);

    let message = '';

    if (res == ui.Button.YES) {
      message = "was Yes!";
    }
    else if (res == ui.Button.NO) {
      message = "was No!";
    }
    else if (res == ui.Button.CANCEL) {
      message = "was Cancelled!";
    }
    else if (res === null) {
      message = "was dismissed!";
    }
    else {
      message = 'was something else';
    }
    ui.alert(message);
  } catch (error) {
    Logger.log('Error: ' + error.message);
    SpreadsheetApp.getUi().alert('An unexpected error occurred: ' + error.message);
  }
}
- Try-Catch Block: The function is wrapped in a
try-catchblock to handle any unexpected errors gracefully. - Getting the UI Object:
const ui = SpreadsheetApp.getUi();retrieves the UI object. - Showing the Alert:
const res = ui.alert("Show Stuff", ui.ButtonSet.YES_NO_CANCEL);displays a modal dialog with three buttons: Yes, No, and Cancel. The user’s response is stored in the variableres. - Logging the Response:
Logger.log(res);logs the user’s response for debugging purposes. - Handling User Response:
- The
if-elsestatements check the response and assign the appropriate message to themessagevariable. ui.alert(message);displays another alert with the message based on the user’s initial response.
- The
- Error Handling: If an error occurs, it is logged using
Logger.log, and an alert is shown to inform the user of the unexpected error.
Deploying the Script
- Open Script Editor: In your Google Sheets document, go to
Extensions > Apps Script. - Add the Code: Copy and paste the complete code above into the script editor.
- Save the Script: Click on the disk icon or press
Ctrl + Sto save the script. - Authorize the Script: When you run the script for the first time, you will need to authorize it. Click on
Run > onOpenin the script editor and follow the prompts to authorize. - Reload the Google Sheets Document: Close and reopen your Google Sheets document, or reload the page. You should see the new “Custom Menu” in the menu bar.
Now, you can click on the “Custom Menu” and select “Show Alert” to trigger the popup dialog. The script will handle the user response and display the appropriate message.
Conclusion
With this script, you have successfully added a custom menu to Google Sheets that shows a popup alert and handles user responses. The try-catch block ensures that any unexpected errors are caught and logged, providing a better user experience. This approach enhances the interactivity of your Google Sheets document and can be adapted for various other use cases.